
Online invoice payment in Invoice Master is a specific integration: a Premium organization connects its own Stripe account, creates a payment link for an eligible invoice, and sends the customer to Stripe-hosted checkout. Invoice Master does not collect raw card details or decide which payment methods every customer will see.
Product check, July 12, 2026: The workflow below reflects the current Invoice Master payment-link service and Stripe webhook handling.
What you need before creating a link
The organization must have Premium, a connected Stripe account, and an invoice with a currency and line items. Review the customer, quantities, unit prices, tax, and final total before generating the link. The checkout is based on that invoice data; a payment page is not the place to repair a mistaken document.
You should also configure the connected Stripe account fully. Identity verification, business details, branding, payout schedule, enabled payment methods, and country-specific capabilities are controlled by Stripe.
What the customer sees
The customer follows the invoice payment URL to a Stripe-hosted checkout page. Invoice Master does not hard-code a list such as “cards, iDEAL, Klarna, and SEPA for everyone.” Stripe can dynamically present relevant methods from the connected account’s payment-method settings, subject to country, currency, capability, and transaction rules. Stripe explains that behavior in its Payment Link API reference and Payment Links overview.
That distinction matters for support. If a method is missing, first check the connected Stripe account, transaction currency, customer location, and Stripe eligibility—not an old marketing list.
What updates automatically
When Stripe reports a successful payment for the invoice, Invoice Master creates a payment record and recalculates the invoice status and balance. A fully settled invoice can move to Paid; an invoice with a remaining balance can be Partially Paid based on its recorded payment history.
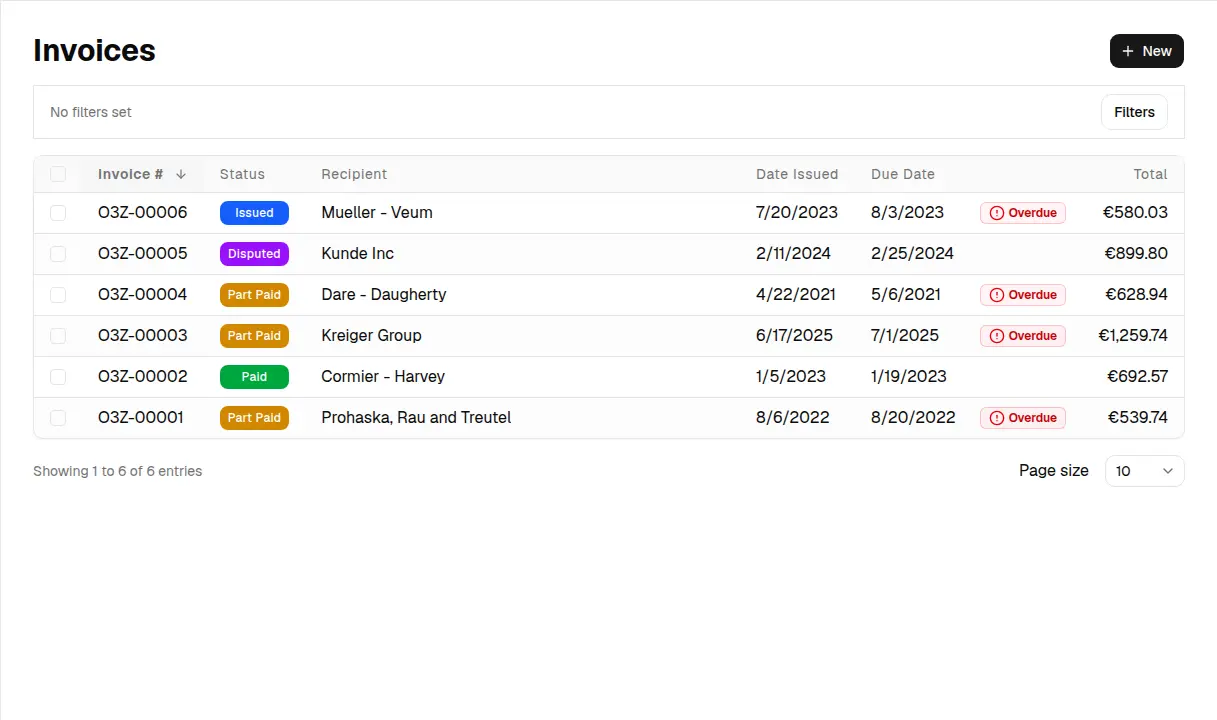
Seeded demo records. Statuses illustrate the current interface and are not customer payment results.
The payment processor and the invoice ledger are still different systems. Stripe controls authorization, settlement, fees, disputes, and payouts. The date money reaches the bank can differ from the customer payment date. Use Stripe’s payout and balance records when reconciling deposits; the payment-to-bookkeeping reconciliation workflow shows the full evidence chain.
What does not update automatically
If you issue a refund in Stripe or receive a chargeback, add the corresponding Refund or Chargeback entry in Invoice Master. The application supports manual payment-history types for payments, refunds, chargebacks, and adjustments, but it does not mirror every later Stripe event back into the invoice automatically.
Do not mark a disputed payment as ordinary income simply because the original charge succeeded. Preserve the gross payment, processor fee, refund or dispute, and net payout as separate facts in your bookkeeping workflow.
A reliable setup sequence
- Connect and verify Stripe. Complete the Stripe account setup and review payment-method and payout settings.
- Create the invoice. Confirm recipient, currency, line items, tax, total, and due date.
- Create the payment link. Generate it only after the invoice amount is final.
- Test the customer route. Open the public invoice and checkout in an appropriate test environment.
- Deliver the invoice. Use Invoice Master email, a public access link, a portal, or an approved external channel.
- Confirm the record. After test or live payment, compare the Stripe event, Invoice Master payment history, invoice status, and eventual bank payout.
Fees, surcharges, and tax
Stripe fees and payout timing vary by account, country, currency, and method. Invoice Master does not calculate whether a card surcharge is permitted or how tax applies to a processor fee. Network rules and consumer law can restrict surcharging, so check the law governing the customer and transaction as well as your Stripe agreement before passing costs on.
Security responsibilities remain
Stripe-hosted checkout reduces the card-data surface inside Invoice Master, but it does not eliminate operational risk. Protect both accounts with strong authentication, restrict organization access, verify changes to payout or bank details independently, and treat unexpected payment emails as untrusted until checked in the dashboards.
Payment links remove several pieces of friction: no copied card details, no manual “which invoice was this?” guess when metadata arrives correctly, and a direct route from document to checkout. They do not guarantee payment, replace reconciliation, or make every method available everywhere. When payment remains late, use a staged reminder process rather than treating the link as the collection strategy. That narrower promise is also the useful one.